Achieving Flawless Interiors: A Comprehensive Guide to Drywall Finishing May 06, 2026
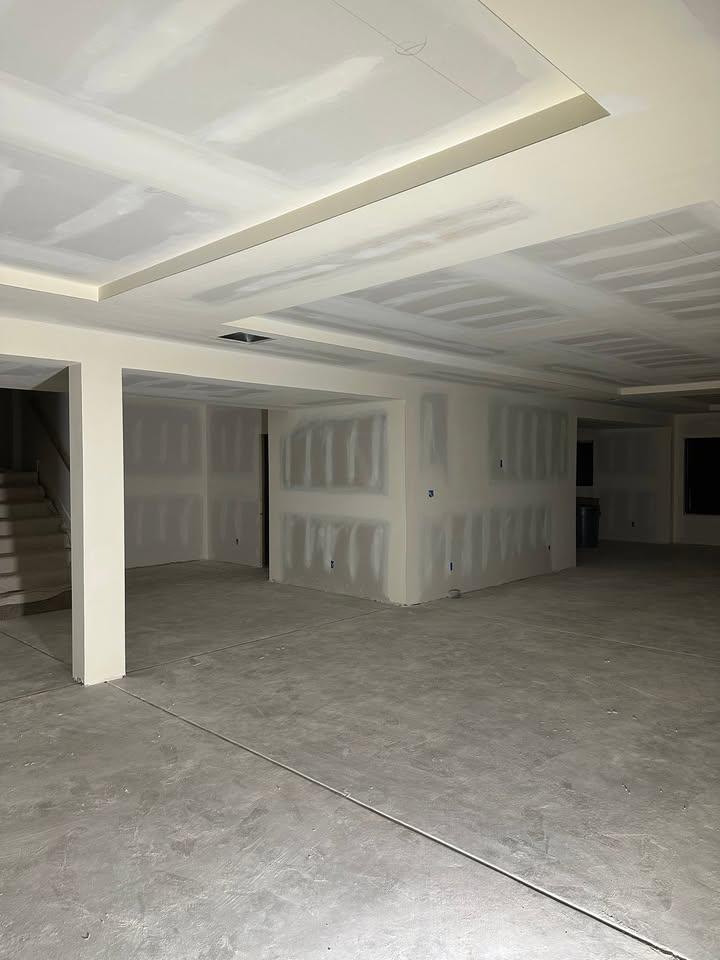
Drywall finishing is a critical step in the construction process, bridging the gap between installation and final painting. The process involves several steps, each requiring meticulous attention to detail to ensure a smooth and flawless surface. The most common method involves applying multiple coats of joint compound to cover seams, nails, and screws.
Begin with a Level 0 finish, the starting point where the drywall is simply hung. At this stage, inspect the alignment and attachment of drywall panels to prevent future issues. Progressing to a Level 1 finish involves applying tape over the joints, which reinforces the seams and helps prevent future cracking.
As you move to a Level 2 finish, it's crucial to cover everything with a thin layer of joint compound. This essential step ensures that the drywall is primed for additional layers. Sanding between each coat smooths out imperfections and sets the stage for a seamless finish.
When you reach a Level 3 finish, apply a thicker layer of joint compound, covering all seams and fasteners once more. For a professional touch, consider using a finishing knife to apply pressure evenly across surfaces, which ensures consistent coverage.
Before the final coatings, which comprise Levels 4 and 5, check for evenness and correct flaws. Level 4 involves an additional coat of joint compound to ensure a super-smooth surface especially important for spaces receiving flat paints or wallpaper. Achieving a Level 5 finish, ideal for glossy surfaces, includes skimming the entire drywall with a thin layer to patch any remaining minute defects.
To maintain these finishes, it’s crucial to select the right tools and materials. Quality joint compound is essential, as is selecting the appropriate grade of sandpaper. Begin sanding with a coarse paper to address large inconsistencies, then switch to a finer grit for polishing the surface.
Lighting can dramatically affect the appearance of your finished drywall. Strong lighting reveals imperfections, so conduct your final inspection under various lighting conditions. This process ensures the surface is truly flat and smooth.
Another critical aspect of drywall finishing is understanding how temperature and humidity affect the drying process of compounds. Adequate ventilation in the workspace aids in drying, preventing issues like bubbling or excessive cracking.
When all finishing is complete, clean the area thoroughly to remove dust and debris before painting. This step guarantees that the paint adheres properly and lasts longer, providing that polished look you desire.
In conclusion, achieving a flawless drywall finish involves a careful balance of technique, quality materials, and dedication. While some ambitious DIYers may want to tackle these tasks on their own, enlisting the expertise of a professional can ensure a higher standard and long-lasting results. Durable Drywall & Painting is here to guide you through every step, promising impeccable finishes that breathe life into your interiors.
/filters:no_upscale()/filters:format(webp)/media/8757d210-6fc2-42f2-8f75-c3669fca19f3.png)